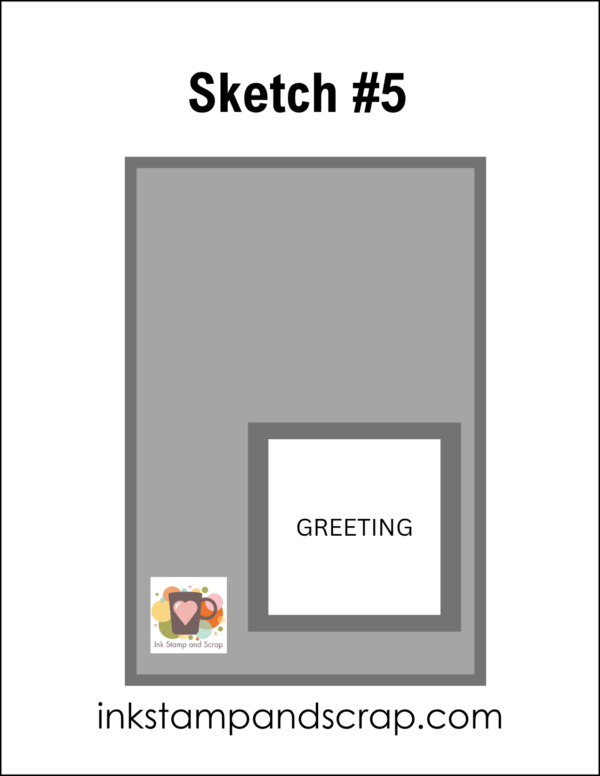
Today's Handmade Floral Celebration Card Using Sketch #5 is beyond quick and easy. One of the quickest ways to get a card done is to use Designer Series Paper as your major layer. Now I know some of you like to avoid this because you want your paper to last f-o-r-e-v-e-r, but you're a card maker because you want to share your art. Card makers brighten people's days by sharing their craft. Right here I give you permission to use up your paper and share it with friends and family.
The Card
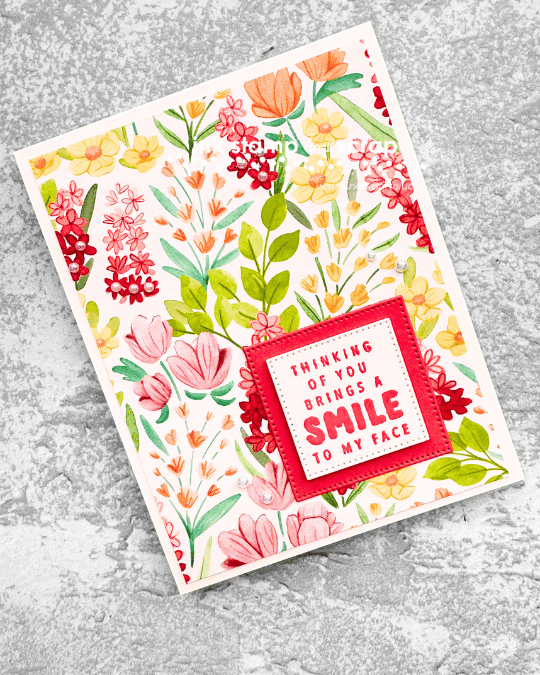
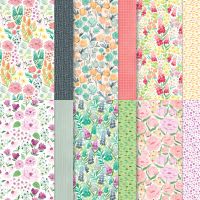
Here's the card with all that glorious paper. This is one of my favorite patterns and I'm so happy to send it during the bright, warm (maybe hot?) summer months. You can see the first version of this sketch in this post.
The Supplies
The supply list is short because the Florals in Bloom Paper does all the heavy lifting for this card.
Let's Make It
Now let's make this simple card. You'll find dimensions below as well.
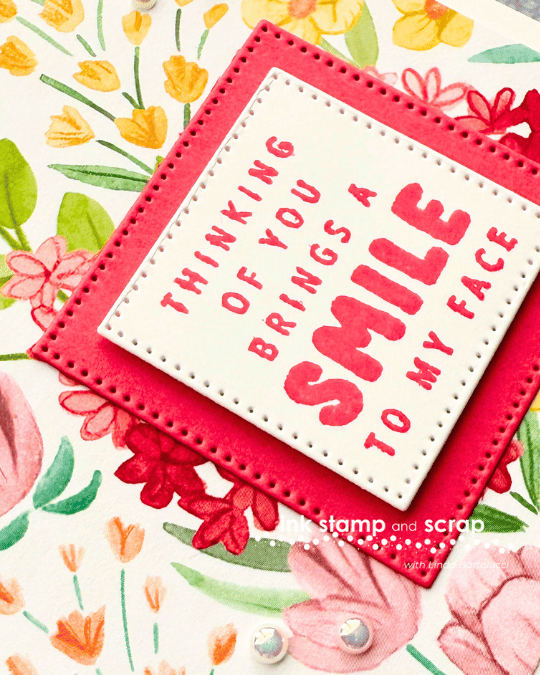
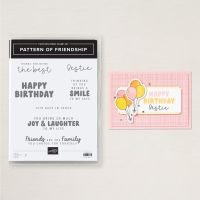
- Stamp the greeting using Strawberry Slush ink on a scrap of Basic White
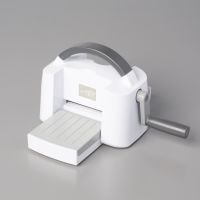
- Die cut the greeting using the smallest square from the Stylish Shapes dies
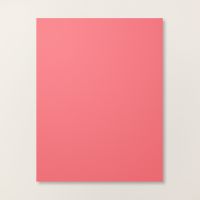
- Die cut the next larger square from the Stylish Shapes dies from a scrap of Strawberry Slush card stock
- Assemble the card as follows:
- Glue the Florals in Bloom paper to the card base
- Glue the Strawberry Slush square to the lower right
- Add the greeting square using Stampin' Dimensionals
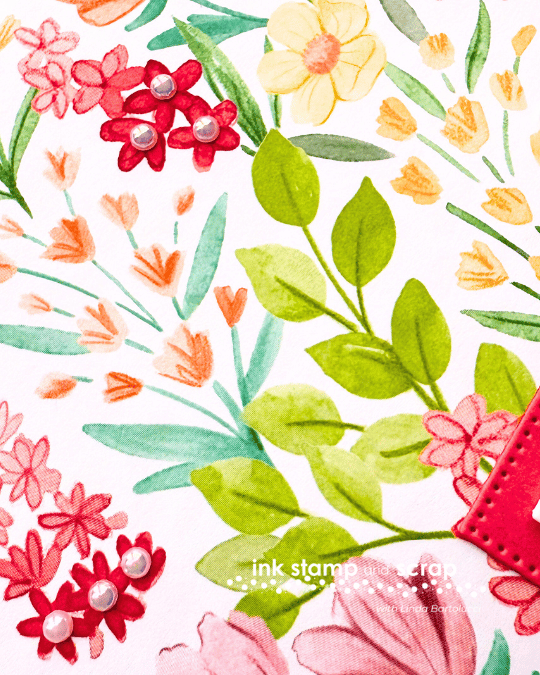
- Add a Iridescent Pearls to the small flowers in the patterned paper
Here's a zoomed in picture where you can see how I arranged the pearls on the flowers.
Your Turn
I hope you give this card a try. I really think Sketch #5 should be one you keep in mind anytime you need a quick card. If you'd like my eBook entitled 10 Sketches for Card Makers send me a message and I'll be happy to get it to you.

![Strawberry Slush Classic Stampin' Pad [ 165286 ] Strawberry Slush Classic Stampin' Pad [ 165286 ]](https://assets1.tamsnetwork.com/images/EC042017NF/165286s.jpg)
![Strawberry Slush Classic Stampin' Ink Refill [ 165282 ] Strawberry Slush Classic Stampin' Ink Refill [ 165282 ]](https://assets1.tamsnetwork.com/images/EC042017NF/165282s.jpg)
![Iridescent Pearl Basic Jewels [ 158987 ] Iridescent Pearl Basic Jewels [ 158987 ]](https://assets1.tamsnetwork.com/images/EC042017NF/158987s.jpg)




Leave A Comment