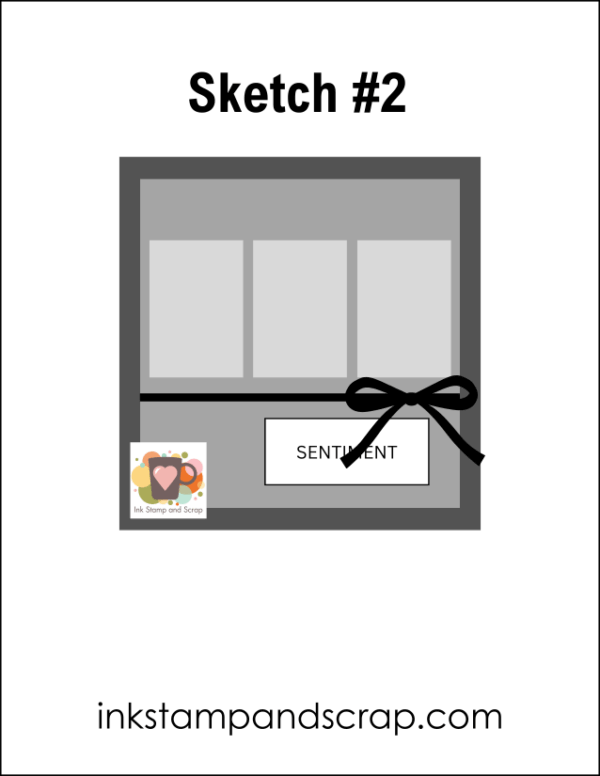
For Sketch Lesson Two: Change the Shapes we are going to change the shape of the card base and some pieces of the sketch. I hope that the sketches referenced here will become launching places for many of your cards.
The Card
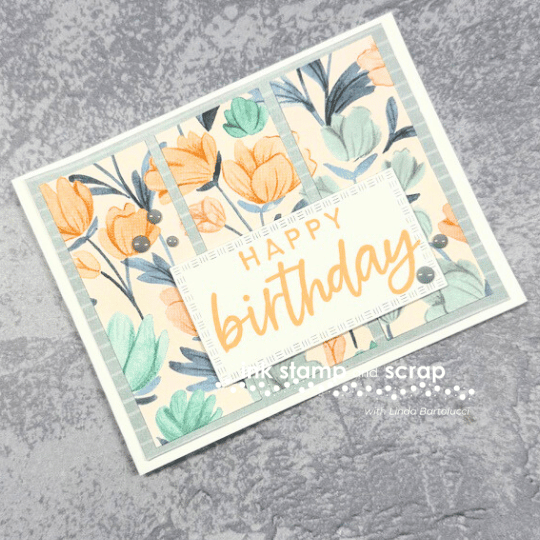
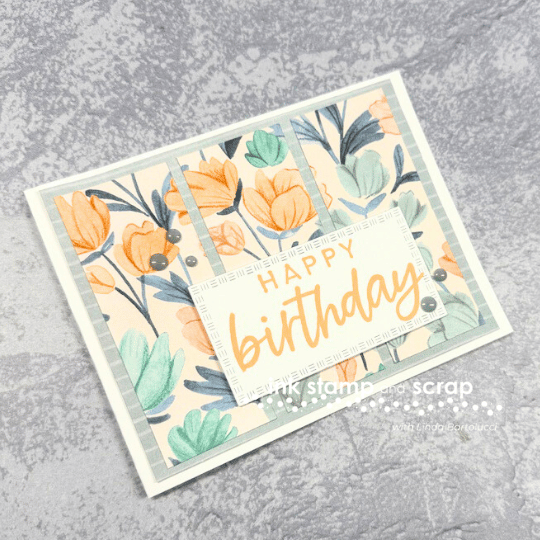
Here's the card we're making today. I changed the following from the original sketch:
- The three scraps across are larger and span the length of the card
- The card base is a rectangle
- I skipped the ribbon and changed to adhesive dots
The Supplies
Below are all the supplied used to make this card
Let's Make It
This card is pretty much a cut and glue, but follow these directions to make sure you get everything where it's supposed to be:
- Attach large piece of Designer Series Paper to the card base
- Cut the smaller floral piece into 1 1/2″ strips
- Attach the center floral piece
- Attach the right and then left floral piece
- Die cut the rectangle and stamp with “happy birthday” in Timid Tiger ink
- Attach greeting with Stampin' Dimensionals
- Add flat pearls for a pop of bling
The coolest thing about this card is the eye catching continuous pattern of the flowers. You'll see in the dimensions below that the flower layer is listed as a large piece. Then in the instructions above you'll see where you cut it down to 1 1/2″ strips.
Measurements
- Basic White – 11″ by 4 1/4″ – score at 5 1/2″
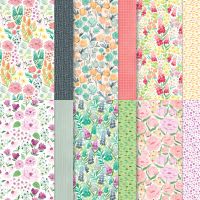
- Florals in Bloom DSP – 5 1/4″ by 4″
- Florals in Bloom DSP (with flowers) – 4 1/2″ by 3 3/4″
- Scrap of Basic White for die cut rectangle
Your Turn
I hope you take this lesson of changing the card base and extending the three rectangles and play with other sketches you have. Leave a comment below if you'd like more posts where I show you how to mix up a sketch.


![Textured Notes Dies [ 165555 ] Textured Notes Dies [ 165555 ]](https://assets1.tamsnetwork.com/images/EC042017NF/165555s.jpg)
![Timid Tiger Classic Stampin' Ink Refill [ 165283 ] Timid Tiger Classic Stampin' Ink Refill [ 165283 ]](https://assets1.tamsnetwork.com/images/EC042017NF/165283s.jpg)
![Timid Tiger Classic Stampin' Pad [ 165278 ] Timid Tiger Classic Stampin' Pad [ 165278 ]](https://assets1.tamsnetwork.com/images/EC042017NF/165278s.jpg)
![2025–2027 In Color™ Flat Pearls [ 165192 ] 2025–2027 In Color™ Flat Pearls [ 165192 ]](https://assets1.tamsnetwork.com/images/EC042017NF/165192s.jpg)



Leave A Comment