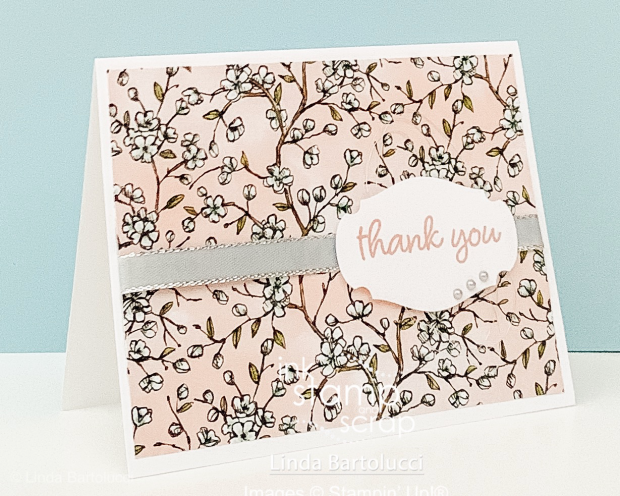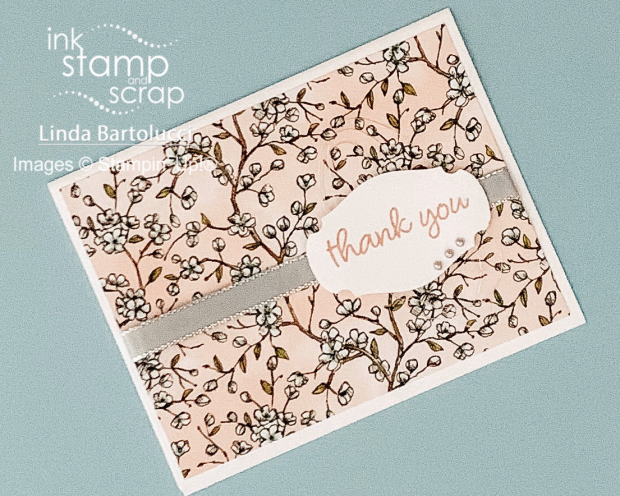
A few weeks ago I needed some thank you cards for both a gift and customers. I find the easiest way to get these done quickly with lots of color and minimal stamping is to use designer series paper. The card I'm showing you today is my go-to layout for these kinds of cards. I love adding ribbon and embellishments to the paper layer as these are quick to do and give the card a special touch. Here's the scoop:
Measurements:
- Whisper White Card Base – 8 1/2″ by 5 1/2″; scored and folded at 4 1/4″
- Bird Ballad Designer Series Paper – 5 1/4″ by 4″
- Whisper White scrap – for Story Label
- Metallic Ribbon – 7″
Instructions:
- Stamp greeting on scrap white and punch out with Story Label Punch
- Wind thread around fingers and attach to back of label using dimensionals
- Add pearls to front of label
- Color ribbon with Stampin’ Blend Marker and wrap around Bird Ballad paper
- Add greeting on top of ribbon on right side of card
- Attach designer series paper to card – Enjoy!

Tip:
To get the metallic thread to look messy-neat (my own term) I put dimensionals all over the back of the label. Then I wrap the thread around my fingers closest to my hand. This gives you wide circles of thread. Next I attach the thread to the dimensionals making sure to stick the ends to the back of the label so that only loops are showing when you attach the label to the card.
Stampin' Up! Supplies
Click on a picture to shop at My Store
Thank you for stopping by today, please be sure to . . .
- Receive a FREE PDF tutorial when you subscribe to my emails here.
- Earn up to a $50 shopping spree with my Ink Stamp and Scrap Rewards Program.
- Check out the clearance rack and save up to 70%.
- Save 10% on coordinating product bundles!
- The $99 Starter Kit is the best deal of ALL! Discounts & benefits here
- Visit my gallery for paper crafting ideas.
- Follow me on Pinterest.
- Follow me on Instagram.
- Subscribe to my YouTube paper crafting video tutorials.


Leave A Comment