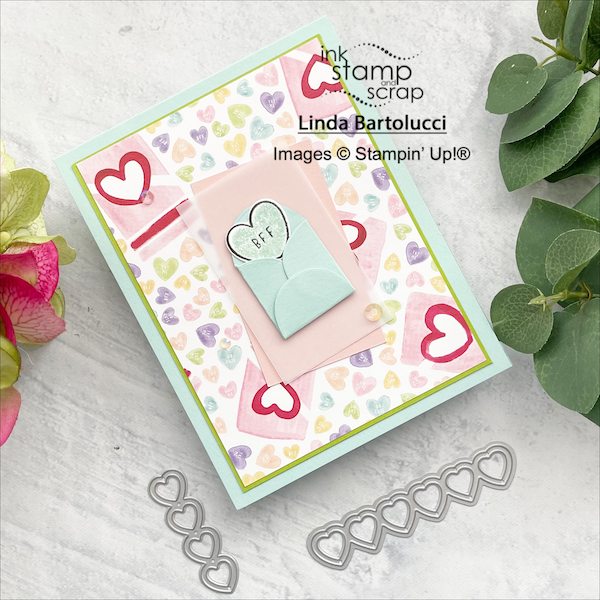
This Mini Envelope Handmade Valentine's Card Using Stampin' Up! features six layers! If you've been following me for any length of time you know that's not my usual style. The Sweet Conversations papers offer so many color options and I decided to highlight almost all of them in a separate layer. I'm also enjoying experimenting with diagonal layers – they certainly offer a lot less pressure to “get it straight” and make for quicker card assembly.
Ok, enough about my creative journey, I know you really want to understand how I put this card together. If you are looking for the supplies I used you can scroll down to the product tiles. Clicking on any of them will take you to my Stampin' Up! store. For a shortcut, you can just click the Add All to Cart. Then just modify your cart to eliminate the supplies you don't need. Personally, I think this is an easier way to shop than popping back and forth to grab the individual products you want to recreate this card.
You'll want to cut your layers like this:
- Pool Party card base – 11″ by 4 1/4″ score at 5 1/2″
- Granny Apple Green – 5 1/4″ by 4″
- Sweet Conversations DSP – 5 1/8″ by 3 7/8″
- Blushing Bride – 3″ by 1 3/4″
- Vellum Cardstock – 3″ by 1 3/4″
- Pool Party for envelope – 1 1/2″ by 3″ (or more)
- Basic White for heart – 1 1/2″ by 1 1/2″ (or more)
To create the layers of this card:
- Fold and score the Pool Party card base
- Add the Granny Apple Green layer
- Add the Sweet Conversations layer
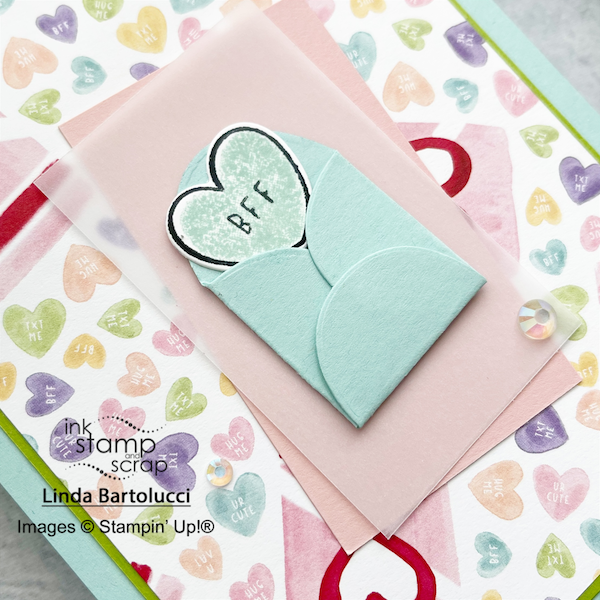
- Stamp the widest heart with Pool Party ink and then add the BFF stamp over that in Memento Tuxedo ink
- Die cute the heart and envelope using the Mini Stampin' & Emboss Machine (use Pool Party card stock for the envelope)
- Add the heart to the top of the envelope using a Stampin' Dimensional
- Layer the heart and envelope on the Vellum card stock layer at a slight angle
- Layer the heart, envelope and vellum on the Blush Blossom layer at another slight angle
- Layer all the small elements on the Sweet Conversations paper layer
- Add a couple of Iridescent Jewels for a pop of bling
Stampin' Up! Supplies
Click on a picture to shop at My Store
")
")


Thank you for stopping by today, please be sure to . . .
- Receive a FREE PDF tutorial when you subscribe to my emails here.
- Earn up to a $50 shopping spree with my Ink Stamp and Scrap Rewards Program.
- Check out the clearance rack and save up to 70%.
- Save 10% on coordinating product bundles!
- The $99 Starter Kit is the best deal of ALL! Discounts & benefits here
- Visit my gallery for paper crafting ideas.
- Follow me on Pinterest.
- Follow me on Instagram.
- Subscribe to my YouTube paper crafting video tutorials.
Leave A Comment