Before we get to making this quick and easy friendship card, let's talk bundles. You have 34 bundles to choose from in the new Stampin' Up! Annual Catalog! I know there's one in there for everyone. As for me I found several and will be sharing them with you over the coming weeks. If you need a copy of the current catalog you can request one here. If you'd like to browse it online while you're waiting for the mailman to deliver your copy, you can look at it here.
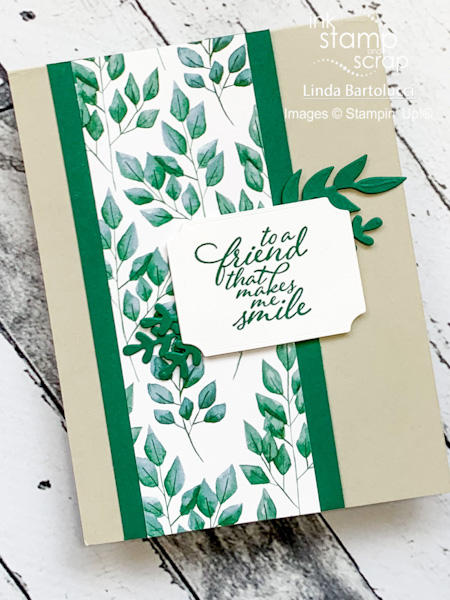
For today's card I used a card base I seem to be gravitating to a lot right now – Sahara Sand. I just find it a soothing base especially when layering on bold or bright colors (have you seen the new In Colors – ah-mazing!).
Pay close attention to the directions for making the card stock borders for the designer series paper – I only used 1″ by 5 1/2″ of cardstock to get the look!
Let me know what you think of this card! Leave a comment and I will draw a winner to receive some retired (new, never used) swap from my swap bin.

NUMBERS
Sahara Sand – 11″ by 4 1/4″ score at 5 1/2″
Shaded Spruce – 5 1/2″ by 1″ and scrap for fern dies
Forever Fern Designer Series Paper – 5 1/2″ by 2″
Whisper White – scrap for label die
PUT IT TOGETHER
- Cut the Shaded Spruce in half along the 5 1/2″ side – attach each half to the 5 1/2″ side of the Forever Fern paper leaving about 3/8″ showing on each side
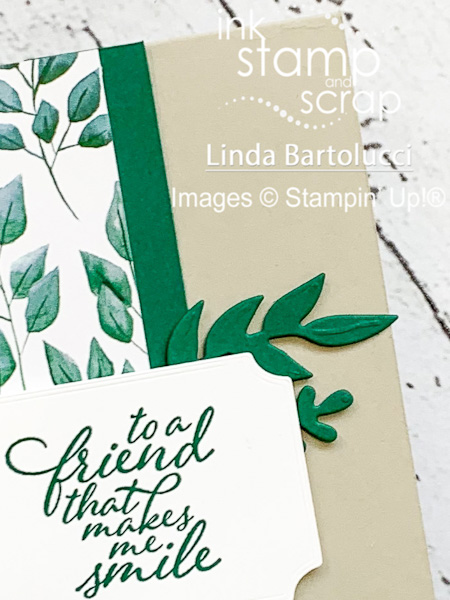
- Use your die cutting machine to make the ferns and label
- Stamp the greeting using Shaded Spruce ink on the label
- Add dimensionals to the back of the label
- Add glue dots to the back of the ferns
- Attach the ferns and label to the center right side of the paper layer making sure it will fit on the card base and not hangover
- Attach all the paper layer to the card using Stampin' Seal
Stampin' Up! Supplies
Click on a picture to shop at My Store
Pin for Later
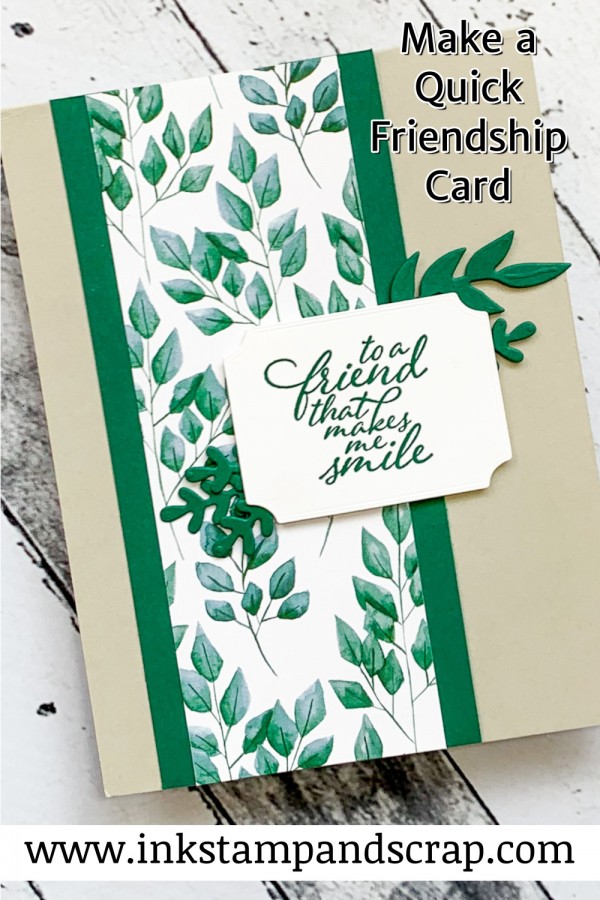
Pin this graphic below to your Ink Stamp and Scrap with Linda board on Pinterest so you can easily find this project again.

Thank you for stopping by today, please be sure to . . .
- Receive a FREE PDF tutorial when you subscribe to my emails here.
- Earn up to a $50 shopping spree with my Ink Stamp and Scrap Rewards Program.
- Check out the clearance rack and save up to 70%.
- Save 10% on coordinating product bundles!
- The $99 Starter Kit is the best deal of ALL! Discounts & benefits here
- Visit my gallery for paper crafting ideas.
- Follow me on Pinterest.
- Follow me on Instagram.
- Subscribe to my YouTube paper crafting video tutorials.


I love the Forever Greenery DSP!