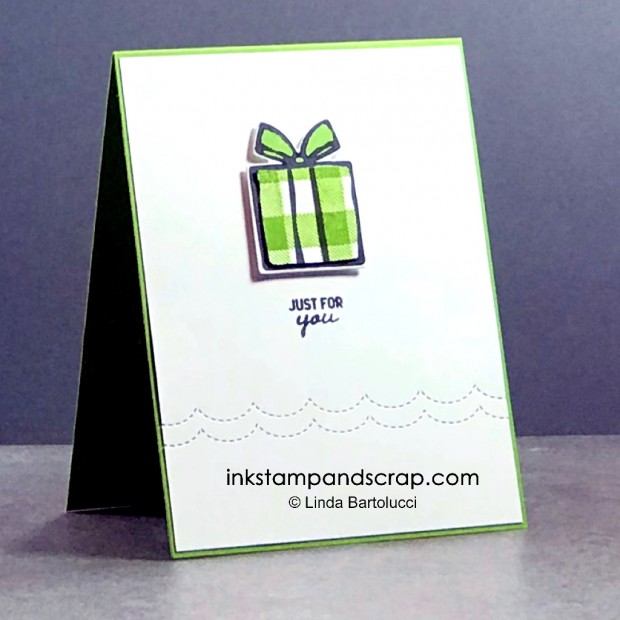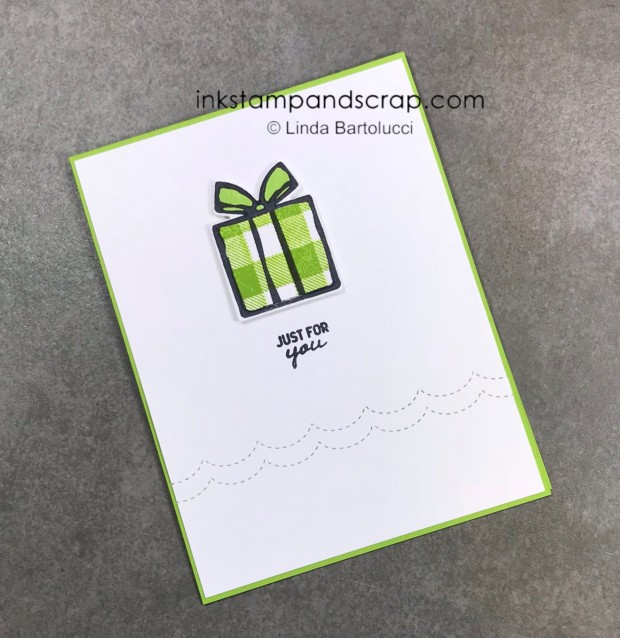
We had fun creating this Buffalo Check Happy Birthday Handmade Card on our last Facebook Live. If you want to see the whole video you pop over using this link. I struggled with the Buffalo Check stamp – it's one of Stampin' Ups large background stamps. I wanted to get a great image and had read that it worked well using the Stamparatus. I love this tool! But alas, in this case going back to good old direct to paper worked best. Many demos have had success using this background with the Stamparatus so give that a try with your backgrounds first as I think it's the easiest way to use any stamp.
Here's what I did to get this crisp Granny Apple Green image on my gift box stamp:
- Set the background stamp so that the rubber was facing up. I kept the stamp on my Stamparatus plate, but you can put it on a big block instead.
- Ink up the stamp generously.
- Lay your card stock down on the stamp and rub the back to get complete coverage. If the piece of card stock you are using is smaller than the stamp, lay a scrap piece of paper on top of the card stock before you begin to rub. This will eliminate extra inky fingers!
Whether you decide this Buffalo Check Happy Birthday handmade card is your next project or use another background stamp in general, I'd love to hear what method works best for you.

In order to get the Buffalo Check in the middle of the present and still color the ribbon with my Stampin Blends here is what I did:
- stamp the image Buffalo Check on a scrap piece of paper (follow the directions above)
- stamp the present image using Tuxedo black ink on the green checked image
- stamp the present image on whisper white and cut out with the present die
- cut just the center of the present with paper snips to get a clean crisp cut
- attach the cut image to the white present
- color the ribbon with Stampin' Blends
Thanks for reading today. I'm off to visit my mom! I will give you an update tomorrow – if you're not sure what I'm referring to you can read this post. Have a great day and leave a comment telling me about your experience with extra large stamps.


Leave A Comment