When you saw this title: How to Use a Card Sketch to Make a Handmade Card did you almost skip it? Of course you know how to use a sketch. You cut your card pieces according to the sketch and put your card together. But what if you started looking at the sketch as just a launching point? What if you started turning it a different way or switching squares for circles? Any of these would take your sketch to another level. Today we're going to start with one of the most basic twists on a sketch – change the orientation.
The Sketch
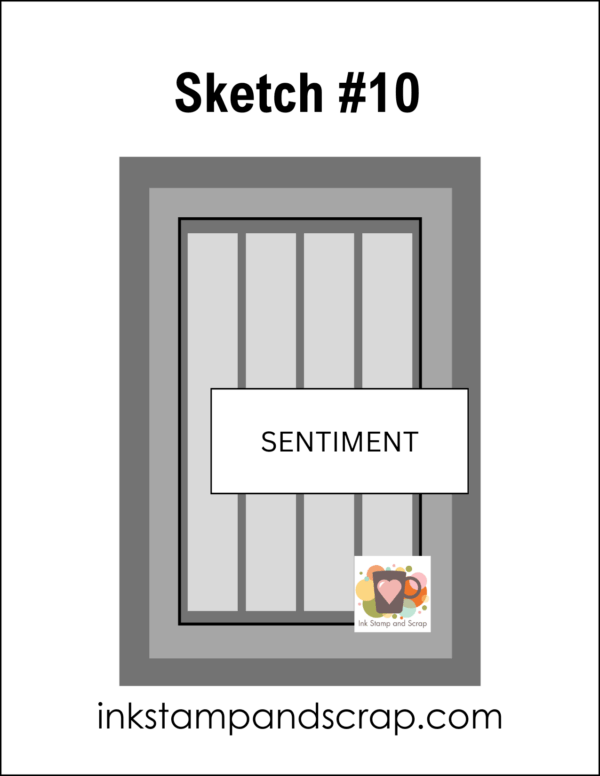
Do you remember this sketch from last week? Today we're going to make a hamburger cut card base (8 1/2″ by 5 1/2″ scored at 4 1/4″) and use the same elements cut to fit this card base.
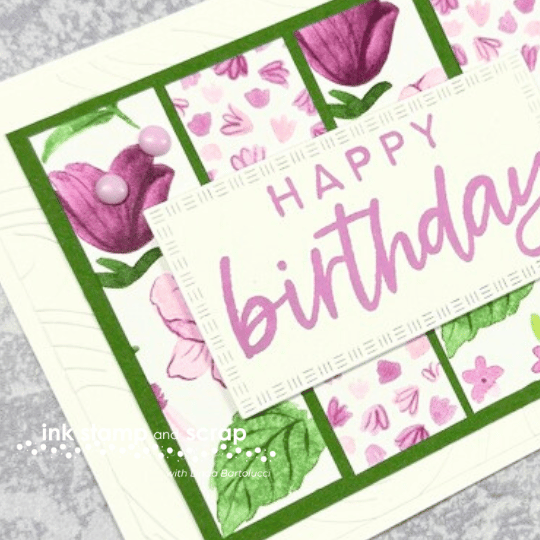
The Card
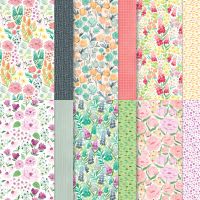
See the difference? Still four scraps across the center of the card. Still a single mat for all four scraps. But the card looks completely different because the orientation changed. To make my point you'll see that I even used scraps from the same package of Florals in Bloom Designer Series Paper. You can see the original post here the directly followed the sketch.

The Supplies
If you like this project – here are all the supplies used. Simply click on an image to shop in my Stampin' Up! Store.
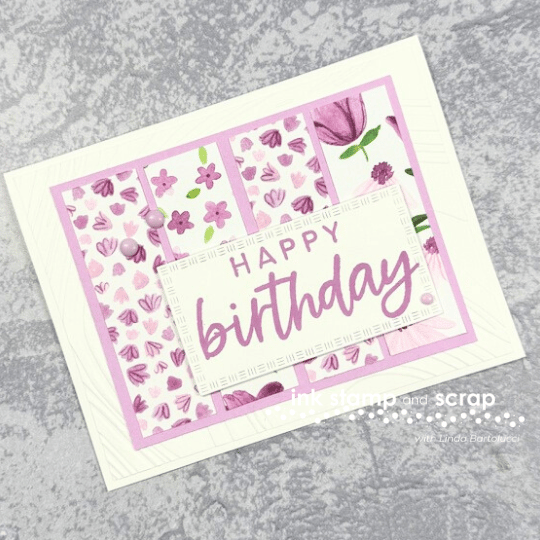
Here's another version of this twisted card. I used almost all the same materials except the mat for the four scraps. It really softened the look of the card to change from the stark Garden Green mat to the Fresh Freesia mat.
Let's Make It
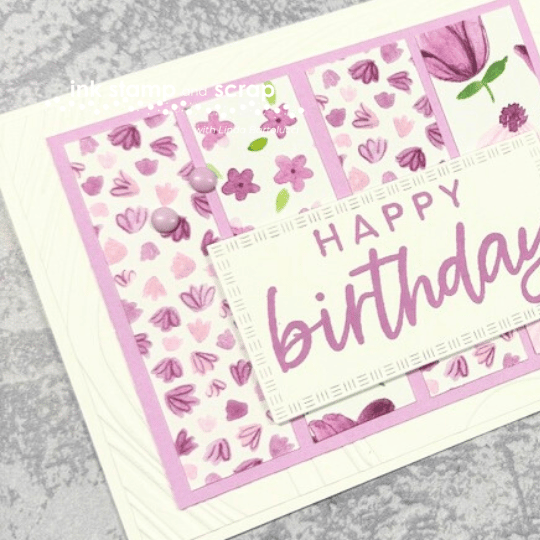
Now let's make this elegant birthday card. If you're a crafter that likes to copy exactly down to the 1/8″ I've included the dimensions below as well.
- Die emboss the Basic White layer with the So Swirly 3D Embossing Folder, then glue this to the card base
- Die cut the second smallest rectangle from Textured Notes Dies
- Glue the four scraps to the colored card stock layer
- Glue the layer from Step 2 to the die embossed layer
- Stamp the greeting on the Basic White rectangle
- Add greeting layer to card with Stampin' Dimensionals
- Add a purple Rainbow Dots around the scraps
Dimensions and Measurements
- Card Base – 8 1/2″ x 5 1/2″; score @ 4 1/4″
- Background Layer – 5 1/4″ x 4″
- Mat for Paper Strips – 4 1/2″ x 3 1/2″
- Paper Strips – 3 1/4″ x 1″ (4)
- scrap Basic White for die cut rectangle
Your Turn
I'd love to see what you do with this sketch! Leave a comment below to tell me or post a picture in our Facebook Group!
Thanks for Stopping By
Thanks for stopping by – look for another beautiful card sample on Thursday!

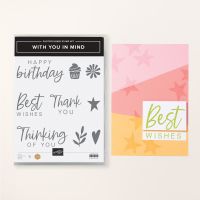
![So Swirly Embossing Folder [ 163791 ] So Swirly Embossing Folder [ 163791 ]](https://assets1.tamsnetwork.com/images/EC042017NF/163791s.jpg)
![Textured Notes Dies [ 165555 ] Textured Notes Dies [ 165555 ]](https://assets1.tamsnetwork.com/images/EC042017NF/165555s.jpg)
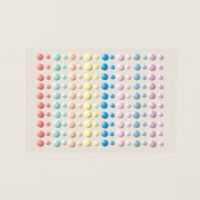

![Fresh Freesia Classic Stampin' Pad [ 155611 ] Fresh Freesia Classic Stampin' Pad [ 155611 ]](https://assets1.tamsnetwork.com/images/EC042017NF/155611s.jpg)
![Fresh Freesia Classic Stampin' Ink Refill [ 155612 ] Fresh Freesia Classic Stampin' Ink Refill [ 155612 ]](https://assets1.tamsnetwork.com/images/EC042017NF/155612s.jpg)


Leave A Comment