
Back in the office! Today I'm sharing a Quick and Elegant Handmade Congratulations Card that you can create using basic supplies or copy the supplies I used. For this card I used basic sized layers with a banner die for the greeting. You can easily make this banner by hand using a narrow strip of card stock and cutting the ends to a banner shape.
NOTE: The black matte dots featured as the bling are retired. If you want the “pop” of black you can substitute something from your stash or just punch some small black circles from card stock.
LAYER DIMENSIONS
- Bubble Bath Card Base – 8 1/2″ by 5 1/2″ score at 4 1/4″
- Basic Black Layer – 5 1/4″ by 4″
- Basic White Layer – 5″ by 3 3/4″
- Basic Black Layer – 4 1/2″ by 3 1/4″
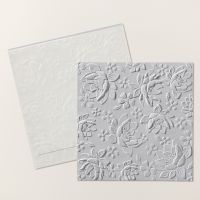
- Bubble Bath Layer (embossed with Layered Florals 3D Folder) – 4 1/4″ by 3″
ASSEMBLY DIRECTIONS
- Dry emboss the Bubble Bath Layer with the Layered Florals embossing folder
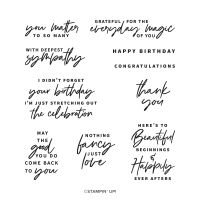
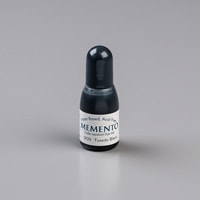
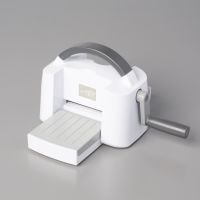
- Stamp the greeting using the Memento Tuxedo ink pad on scrap Basic White and crop that with the larger banner die from Stylish Shapes
- Attach the Basic White layer on the larger Basic Black layer with liquid glue
- Attach the embossed layer to the smaller Basic Black layer with liquid glue
- Attach the layers from the step above to the layers from Step #2 using Stampin' Dimensionals
- Attach the greeting banner using Stampin' Dimensionals slightly over to the right
- Add Black Matte Dots around the banner

Moving the greeting over to the right adds a little interest to the card without making it too challenging. This is a great layout to add to your files and go to when you need a quick eye-catching card.

Stampin' Up! Supplies
Click on a picture to shop at My Store
Thank you for stopping by today, please be sure to . . .
- Receive a FREE PDF tutorial when you subscribe to my emails here.
- Earn up to a $50 shopping spree with my Ink Stamp and Scrap Rewards Program.
- Check out the clearance rack and save up to 70%.
- Save 10% on coordinating product bundles!
- The $99 Starter Kit is the best deal of ALL! Discounts & benefits here
- Visit my gallery for paper crafting ideas.
- Follow me on Pinterest.
- Follow me on Instagram.
- Subscribe to my YouTube paper crafting video tutorials.







Beautiful card, love the colors and the framing. Good job!