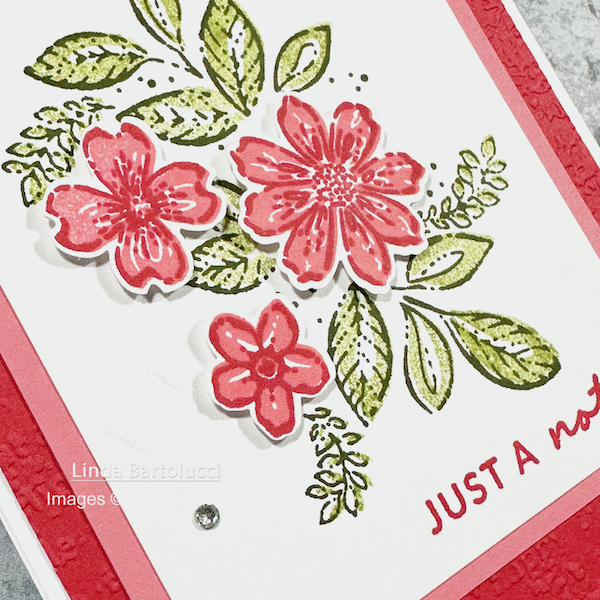
This Layered Handmade Note Card Using Petal Park Layering Stamps uses some of my most favorite stamping tips and tricks. I love to make at least one of my layers stand out with an embossing folder and using good ol' Stampin' Dimensionals on those important features helps too. Last I love the trend of greetings not being their own layer. When I started making card back in 2000 the greeting always seemed to be its own layer and matted to boot. Now it can be part of another layer or just stamped a single layer. This is not only easier, but opens up many more possibilities when looking to copy a card (whether yours or someone else's).
Okay, enough about how much I like this card style – let me share with you how to put it together for yourself!

The Layers
- Card Base – Basic White 8 1/2″ by 5 1/2″
- First Layer – Sweet Sorbet 5 1/4″ by 4″
- Second Layer – Flirty Flamingo 4 1/2″ by 3 1/4″
- Third (Top) Layer – Basic White 4 1/4″ by 3″
Stampin' Up! Supplies
Click on a picture to shop at My Store
Thanks so much for reading this blog post – it really helps a small creator like me. If you'd like to get some free bonuses be sure to be a member of my email family. I love to spoil them on a regular basis! Click here to be sure you're part of my Email Family


I really like this stamp set and punch!