
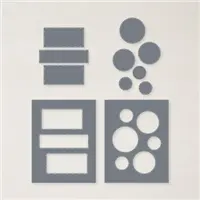
You can Create a Handmade Card in Minutes with One Die! And what is that ONE die you ask? The Picture This die – or actually dies because you can use either the rectangle or circle version to make a quick card. All you need to do is run this die through your machine with and then fill in images behind the circles (or rectangles) to make the magic happen.
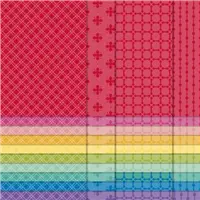
I bet you have LOTS of stamps in your stash that would look completely refreshed if you tried this simple method. Now I used a piece of Designer Series Paper, but if that's not your jam you could use regular card stock and get the same effect. You might want to emboss it with a simple folder or cover is with stamped images in a light neutral ink color for a spark of interest. You could always add some bling too, but I was going for quick and easy.

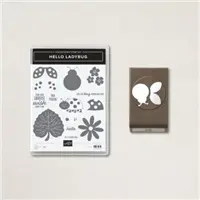
For a little added fun I used a Chalk Marker to make the cute face stand out on the stamped ladybug.
Stampin' Up! Supplies
Click on a picture to shop at My Store


If you'd like to make this card or one like it follow these easy steps:
- Die cut a 5 1/4″ by 4″ piece of Granny Apple Green Designer Series Paper with the largest Stitched with Whimsy die and then the circle Picture This die
- Lay die cut paper over 5 1/4″ by 4″ piece of Basic White card stock and trace the circles lightly with a pencil
- Stamp your images inside the circles and erase the pencil marks
- Attach the paper over the card stock using Stampin' Dimensionals
- Attach the stamped layer to a 11″ by 4 1/4″ top folding card base made from Basic White card stock
Be sure to tag @inkstampandscrap if this sample inspires you when you post to any of your social medias!
Thank you for stopping by today, please be sure to . . .
- Receive a FREE PDF tutorial when you subscribe to my emails here.
- Earn up to a $50 shopping spree with my Ink Stamp and Scrap Rewards Program.
- Check out the clearance rack and save up to 70%.
- Save 10% on coordinating product bundles!
- The $99 Starter Kit is the best deal of ALL! Discounts & benefits here
- Visit my gallery for paper crafting ideas.
- Follow me on Pinterest.
- Follow me on Instagram.
- Subscribe to my YouTube paper crafting video tutorials.
Leave A Comment